Everyone who visits Portugal inevitably tries a pastel de nata, Portugal’s most famous treat. Its crunchy shell and sweet, creamy filling steals the heart of many a tourist (and locals, for that matter). Unfortunately, pastéis de nata are very perishable and even if you grab a box at the airport when you leave, you can only enjoy them for about two days after your trip before they get stale. The solution to pastéis de nata cravings when you don’t live in Portugal? Making them yourself.
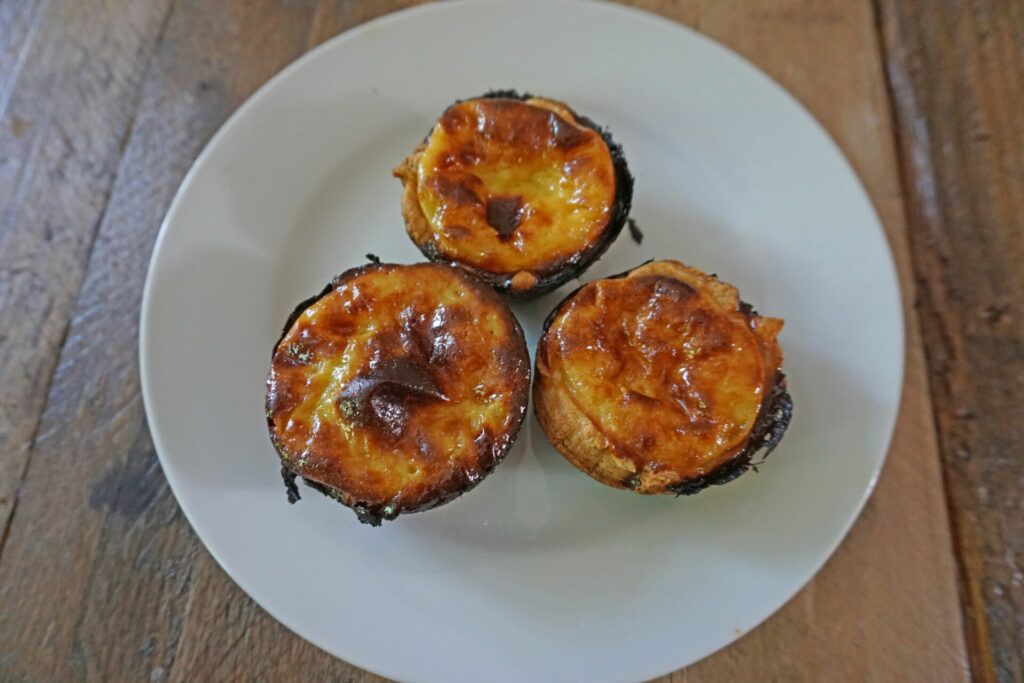
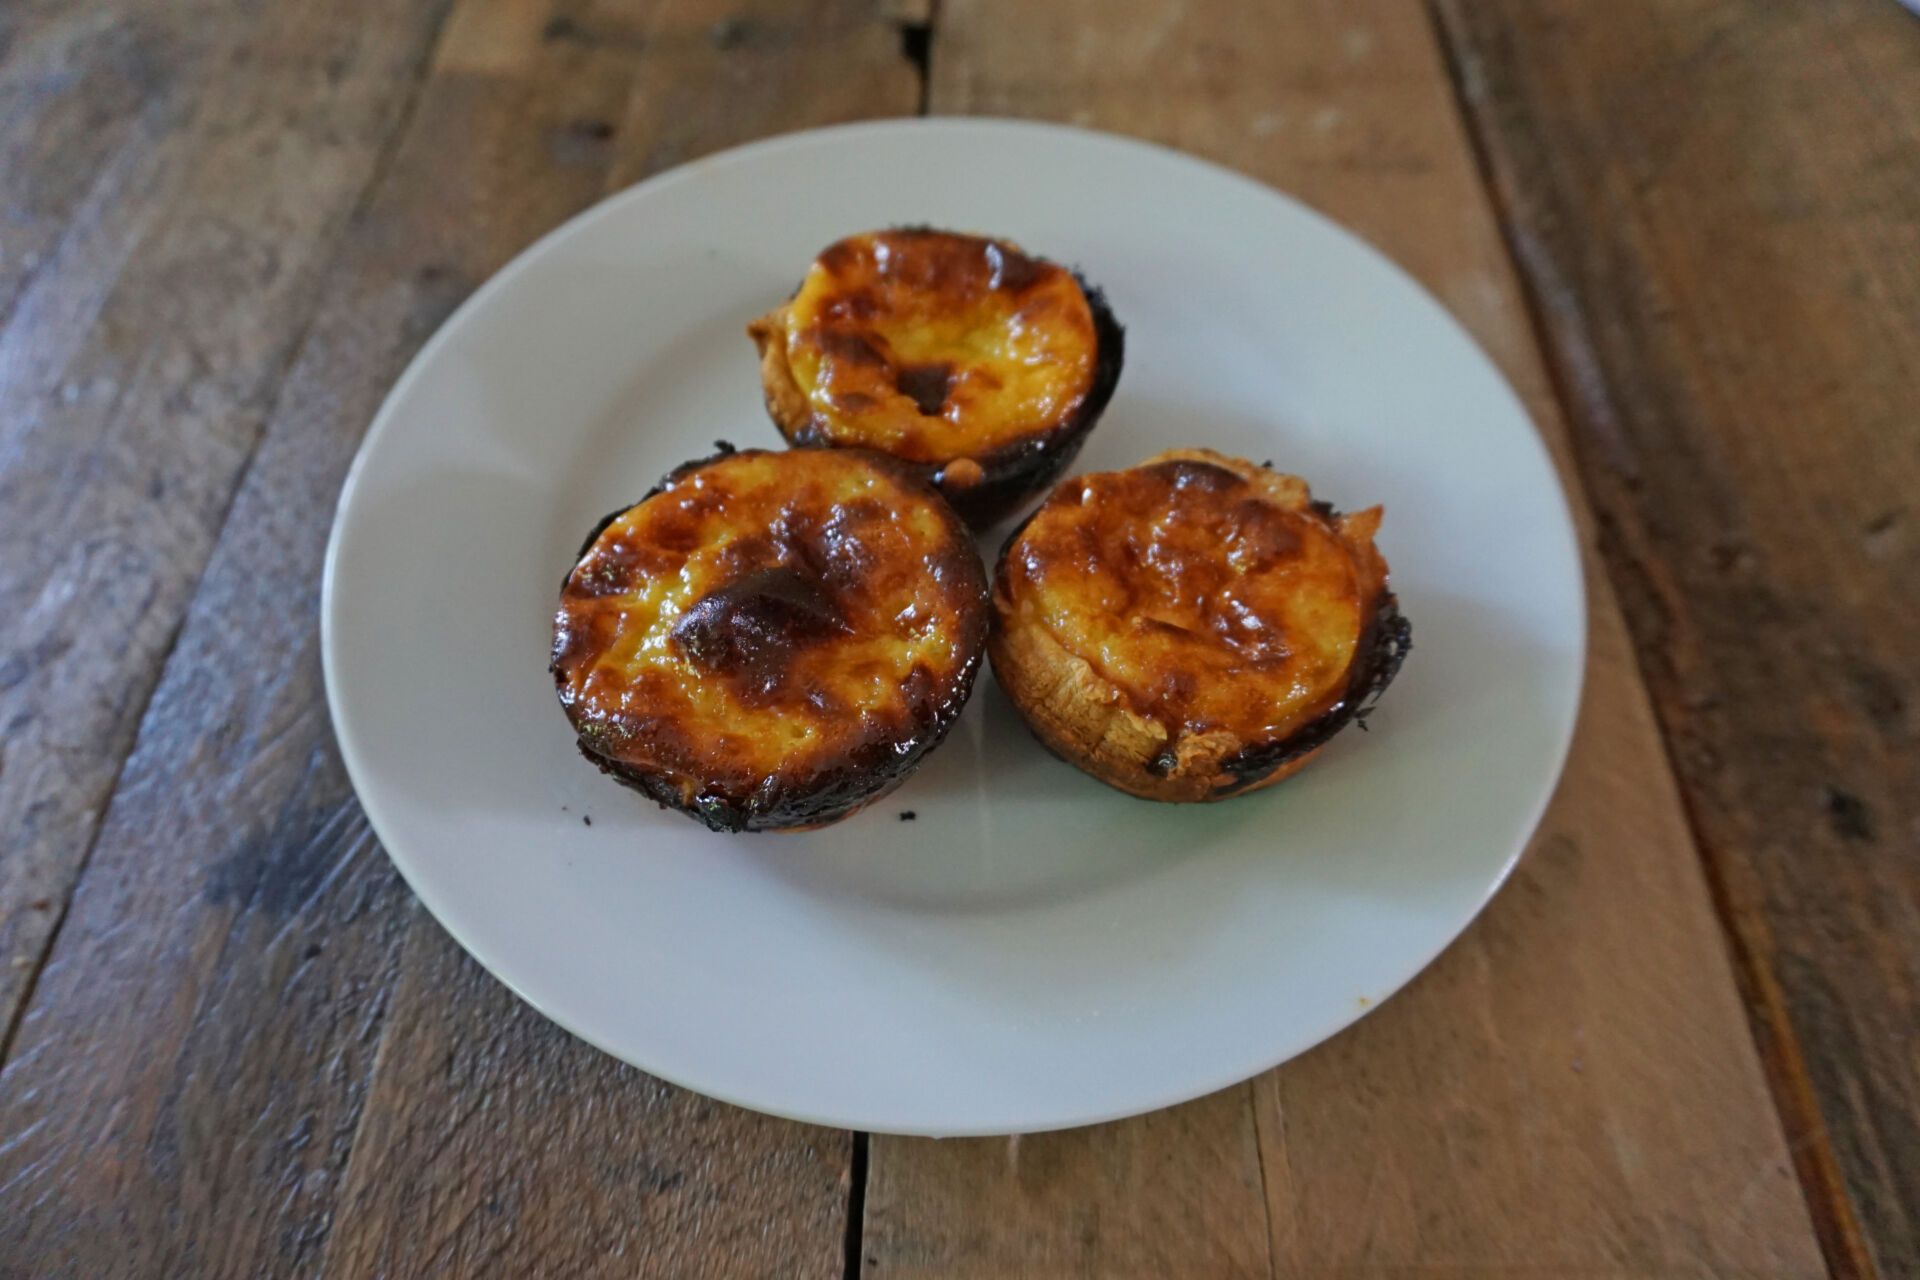
I’m not one to shy away from work when it’s necessary… but if presented with an acceptable shortcut, I’ll take it. In this case – and why I called this post a “cheat’s” recipe – is because I am using ready-made puff pastry. Here’s why I recommend you do the same (unless you’re an expert baker or have made pastéis de nata before): the recipe isn’t easy. If you can save yourself from the added stress of making the shell from scratch – at least until you’re confident in your ability to make the filling easily – by all means, do it. I’m only an amateur cook and I really feel this was the right call for me. Next time I attempt these, I’ll use the store-bought puff pastry too, except with the know-how from my first experience, which I’ll share with you here. This insight will help you make better (and prettier) pastéis de nata than the ones in this photos.
Ingredients (makes about 16 pastéis)
400 g (14 oz) puff pastry
500 ml (17 oz) whole milk
250 g (8.8 oz) sugar
1 tbs all purpose flour
6 egg yolks
2 egg whites
lemon peel
To serve: ground cinnamon & powdered sugar
Instructions
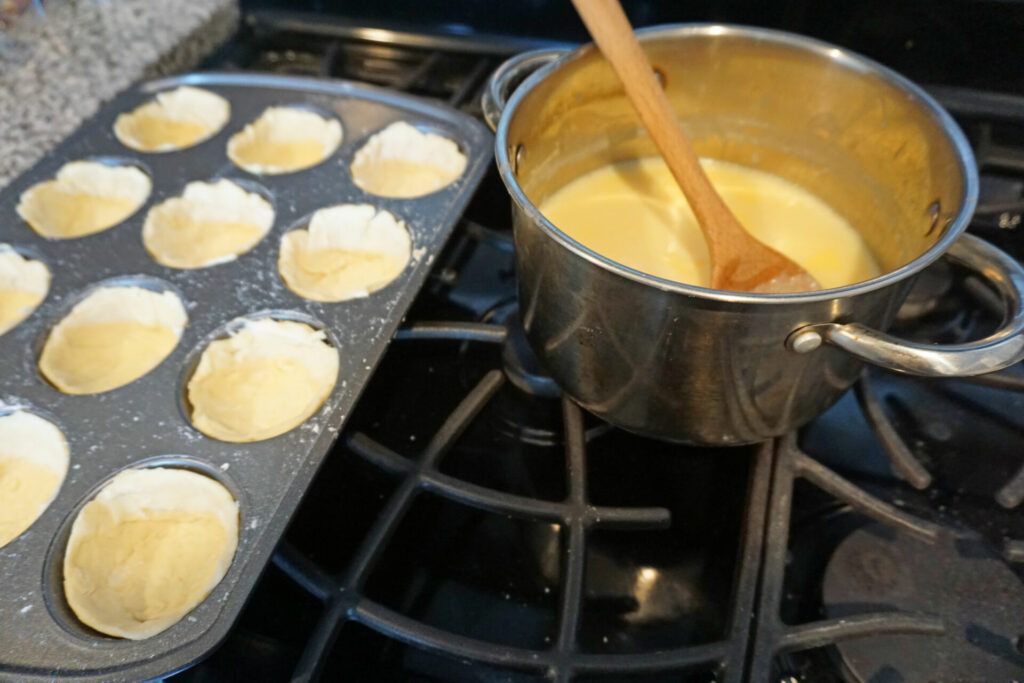
1. Stretch out the ready-made puff pastry even more than it already is, using a rolling pin. This is where I went wrong: I didn’t stretch it out enough and the crust was too thick. Cut circles (the way you would to make round cookies) into the dough and line the individual holes in a muffin tray with the dough. Don’t worry if it seems really thin, it’s supposed to be as it puffs out a lot. Place the tray in the fridge while you work on the filling.
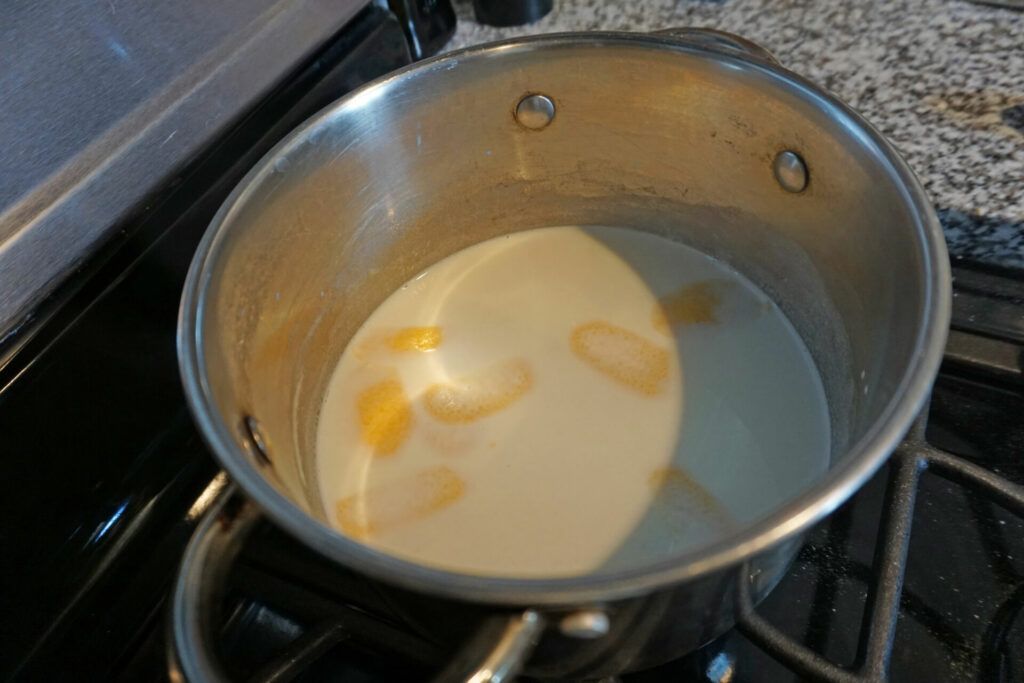
2. Pour the cold milk into a pan and sift in the flour. Mix and bring to the boil on a stove, making sure to stir it constantly (the milk will start to stick the bottom). Add the lemon peel as it’s heating.
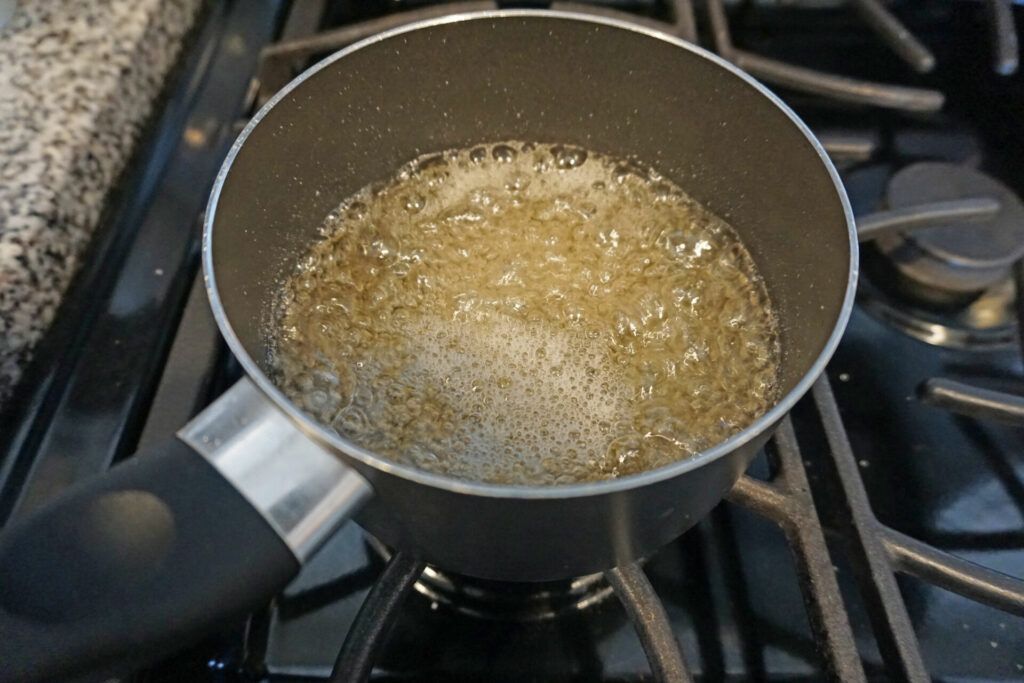
3. Here’s the tricky part (where an assistant is really handy): Take the sugar and 175 g (6 oz) of water and place in a pot at a high heat, stirring gently until dissolved. Once the mixture starts to boil, stop stirring and turn it down to a medium heat. It should take about 10 minutes or so and it should boil quite vigorously (don’t let it change color – it should be clear). If you have a food thermometer, boil until it reaches 113 C (236 F). If you’re an expert in the kitchen, you’re trying to get the syrup to a soft ball stage.
4. Once the milk has boiled, remove the lemon peel. Combine the sugar mixture and milk mixture, and stir until the consistency is uniform. Let it cool.
5. While it’s cooling, quickly whisk the yolks and egg whites together. Add these to the milk and sugar (be sure that it has cooled enough that it won’t cook the eggs).
6. Pour mixture into the muffin tray and put into oven that’s been pre-heated to 230 C (445 F). It took approximately 30 minutes for my pastéis de nata to bake and you can tell they’re ready when the filling starts to develop some dark patches. Remove from the oven, give the individual cups a tap so they don’t stick to the tray, and let them cool in the tray.
7. To serve, sprinkle some powdered sugar and cinnamon on top of the warm pastéis and (ideally) serve warm.
8. Bask in your awesomeness and share with friends so they can all experience first-hand how amazing you are! (Nobody will care – or notice – that the shell isn’t made from scratch)


That’s too much work. Save yourself some grief and mess by buying ready formed frozen puff pastry cups. Just add the filling and bake. Another alternative is to use phyllo pastry and layer 2-3 sheets cut to measure in muffin tins.
Thanks for the tip on phyllo pastry layering! I’ll have to try it! 🙂